
How to Sequence a Song in xLights
If you are new to sequencing a song for your lights this is a great tutorial to help get you started. We will begin with the basics of how to sequence inside of xLights but also walk you through the thought process of how to approach it.
Getting Started
To get started you’ll want to begin by launching your xLights program and then go to the sequencer. In the sequence section, you want to start a new sequence.
A popup will appear and you have the option to select Add a Musical Sequence, select the musical sequence, and then select the audio file you want to use. Next, you will have the option to select your speed of 40fps, 20fps, or custom. Generally, I will use 20fps.
The next option is selecting a view. Depending on what you are working with, you can either select all models or specific models to work with, when you make your selection click “Quick Start”.
Now, you will be able to see all of the models you had selected to work with and the audio file on top. Within the left sidebar, you can move and make adjustments to your models by right-clicking, select “Edit Display Element”, and move items around as you want to.
Setting the Timing
Now we are going to work with setting the timing. On the left sidebar, you want to right-click “New Timing” and then select “Add Timing Track”.
The next option to choose from is the type of interval you want to work with. Select the interval and then click “OK”. You will then have the option to name the timing and just click “OK” when you’re done.
If you are working with a laptop I highly recommend working with a mouse so that you can easily zoom in and out for the audio view.

By clicking the audio located on the top bar you can play the music at any point. You even have the option to work with a specific section of the song by select and dragging the start and stop point.
Sequencing
Before I get started with sequencing the first thing I like to do is inside of xLights I like to open the view of the display I am working with. Then, I begin listening to the song to get a general idea of what I want the colors to be.
There is so much you can do with the lights and the props in your display. But to get started you may want to consider setting the background color to all of your props to at lease certain parts of the song. To add colors, effects, layers, etc these options are located above the audio. If there is anything you add and want to duplicate you just copy and paste it.

To add color just select which lights or props you want to work with on the left sidebar and then select the color. From there you can just drag and drop how long you want that color to take effect. You can also mix colors such as red and yellow to make orange.
Another tool you want to work with is Layer Bending that is located next to the color options. Here you can set the type of transition and how long you want the transition to be.
AC Lights
If you are working with AC lights you should have the toolbar located below the main menu options. If you cannot see the AC lights toolbar you can view it by going to “View” and then select “AC Toolbar”.
Once you have the toolbar and you can work with the AC lights you’ll want to turn them on inside of xLights to see what you are working with.
Effects
Working with the effects is very similar. You can select the effects, add color, and then add them to whichever prop you want to. Once you add effects you will see on the left side of xLights you will have multiple options that you can adjust.
Using the model preview you can tweak the details to fit what you want your lights to do during the music.
When you’re done be sure to save the sequence to your desktop so that you don’t lose your project and time invested.
How to Sequence a Song in xLights Part 2
In this next video, we review the final display and what was set up for sequencing for the rest of the song.
When setting up the sequencing for the song you want to listen to the song as a whole and make notes of any tune changes that you want your display to reflect. Be sure to write down any ideas, colors, or effects you may want to add to it.
Inside of xLights you can actually slow down the song so that you can break down certain parts of the song when working on your sequencing. To do this just go to “Audio” located on the top menu bar and set the speed to 1/2 speed or less.
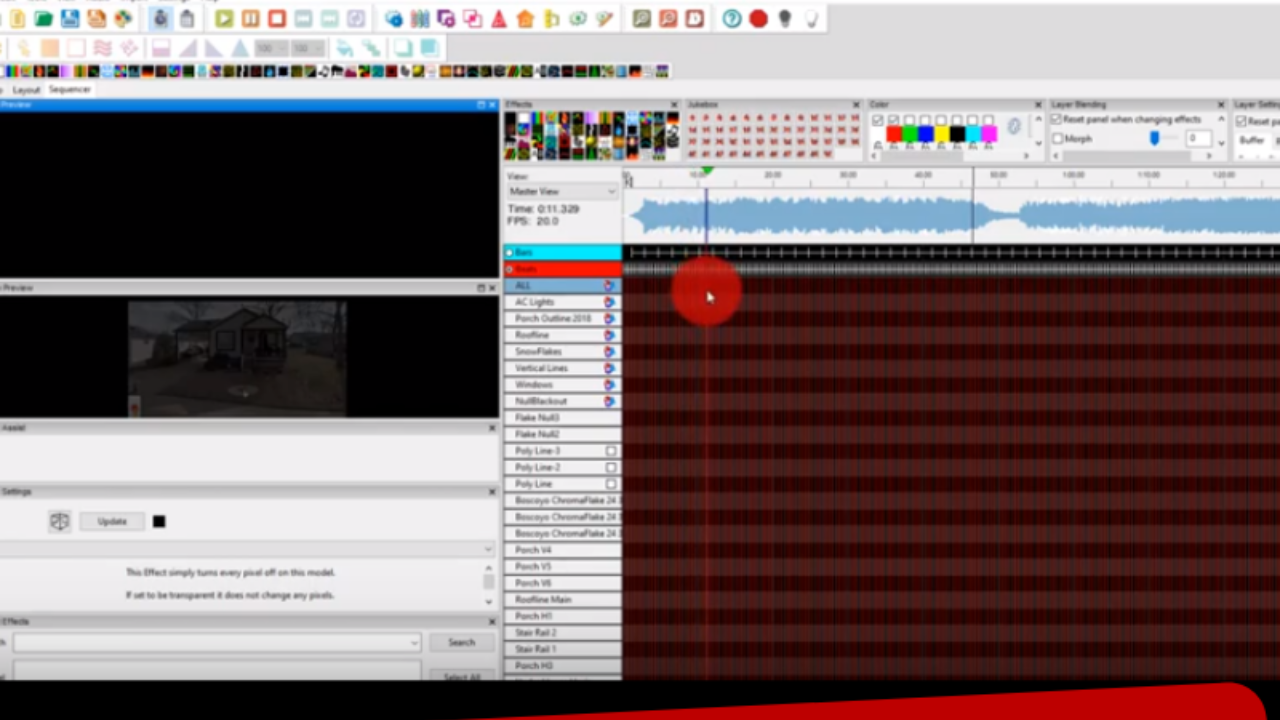
I used the speed set to sequence the light for the drum solo portion of the song. In the image below, it looks more complicated than it really is. Decide what lights you want to sequence for the solo, set it up, and then just copy and paste where you need to.

Another effect that I really enjoyed using was the curtain effect that you can select when adding an effect to the lights. You can see this effect demonstrated through the slower part of the song.
When working with sequencing the best advice I can give for those just getting started is listen to the music, test the colors, effects, and fade times that you want to work with. In the beginning, it may take longer than expected to set up but as you work more with xLights it will get easier for you to work with and set up the display the way you want it to.
Want to Create a Great Christmas Lighting Display This Year?
Grab our free guide and get started today:

