
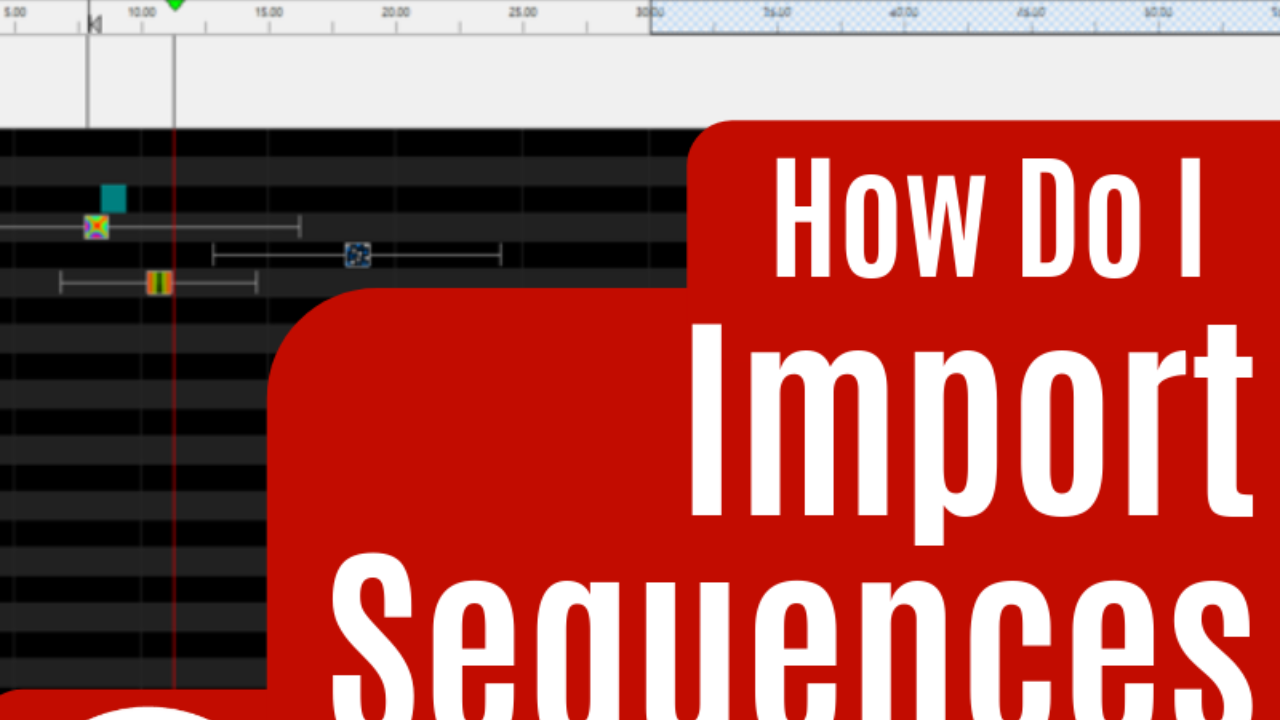
How Do I Use Other People’s Sequences for My Christmas Lights?
One of the most difficult parts of sequencing Christmas lights is the sequencing, or creating the patterns and motions in the lights which go to the music of your display.
The good news is that sequences can be imported from other users, including sequences that you buy online. While the process isn’t super simple, it is simpler than building a complicated sequence from scratch.
At the end of the day, most displays feature the same types of elements – lots of house outlines, trees, snowflakes, megatrees, matrix’s, and arches – so we can use these elements from other people’s display’s and apply them to our own.
Using Paid Sequences
First, I want to show you how to import a paid sequence into your display. While there are free sequences out there, and I’ll cover them below, it’s easier to import paid sequences, so we’ll start there.
Tom BetGeorge from Magical Light Shows made this video, which really shows the difference in what you get from a professional sequence, and how to map it to your display. Watch it and look below for the steps to import a sequence:
Mapping a Paid Sequence To Your Display:
The first thing you’ll need to do is look at the documentation for the sequence you’ve purchased, or open it up in xLights to see what all the groups are, and how they match up to your display.
Once you’ve done that, go ahead and change the xLights folder back to your main show and create a new sequence.
Create A New Sequence
You’ll choose a musical sequence and grab your audio file.
For most paid sequences, you’ll use 40fps in the sequence wizard but always check with your sequence vendor to see what they prefer.
Next, select “All Models”, and begin to import. Press “Import” from the top menu, and then “Import Effects”.
Import Your Models
Choose your sequence’s effects XML file. You’ll then be shown a 2-column window that features your models on the left, and the sequence’s models on the right. You’ll drag models from the right and “map” them to the column on the left.
If your sequence has props that don’t match up to anything in your display, go ahead and make some “phantom props” so that you can see what they’re doing. These will be props that aren’t actually in your display, but we’ll use them in a few minutes as we test the sequence.
At the top, you’ll see a small section with the timing tracks. I would import all of those so that you don’t miss anything that effects may reference!
When you’ve completed the mapping, press “Save Mapping” in the bottom bar.
Now you’ll be brought to the sequence view and when you hit “Save”, xLights will render all of the effects. This may take a while depending on the complexity of the sequence and your computer’s performance.
Test Your Imported Sequence
Press “Play”, and test your sequence. Look for anything that looks out of place or moments of a blackout that you didn’t intend!
One example that Tom highlights in the video is with the group of arches – not all of them were lighting up in the effect, but it was a simple fix to copy all of the effects from the working arches to the “non-working” arches.
You can also look for effects that are on your “phantom props”. If you feel like any parts of sequence on those props needs to be in your display, you can easily copy them in manually, effect-by-effect as needed.
Using paid sequences can save you even more time because they are very simple to import and generally have good instructions with them.
As you can see in the video above, Tom easily maps this sequence in less than 30 minutes (if you count the time where he skips ahead in the video…it’s probably still well under 30 minutes!).
Professional sequencers are very good at making the elements of a Christmas or other holiday light show shine!
Using a Friend’s or a “Free” Sequence
Now, I want to show you how to import a sequence from a friend or one that is found for free online.
The basic process is the same as with a professional sequence, there’s just more “figuring out” time, depending on how well the sequence you’ve gotten is documented and labeled.
The first thing you’ll want to do is to copy the sequence XML file and the xlights_rgbeffects.xml file into a new folder on your computer. You’ll also want the music file in that folder (be sure that you OWN the music before using)
You’ll then change your “Show Directory” to that folder using the icon in the top toolbar:

The show directory option in xLights
Save the sequence in xLights. Now, you’re ready to watch the sequence. This first pass is purely for observation. Take a look at the lights, and begin to decide which models and groups you are going to copy into your display.
It may not make sense to copy all of the elements from the sequence that you are importing, and some elements may get mapped to different props. I like to take these notes in a spreadsheet to keep track of what I’m about to do.
Now, you can go ahead and close the sequence, since you now know what elements you wish to import into your own sequence for your display. Follow the importing instructions above (“Using Paid Sequences”) from this point on and enjoy the show when you’re done!
Want to Create a Great Christmas Lighting Display This Year?
Grab our free guide and get started today:

