
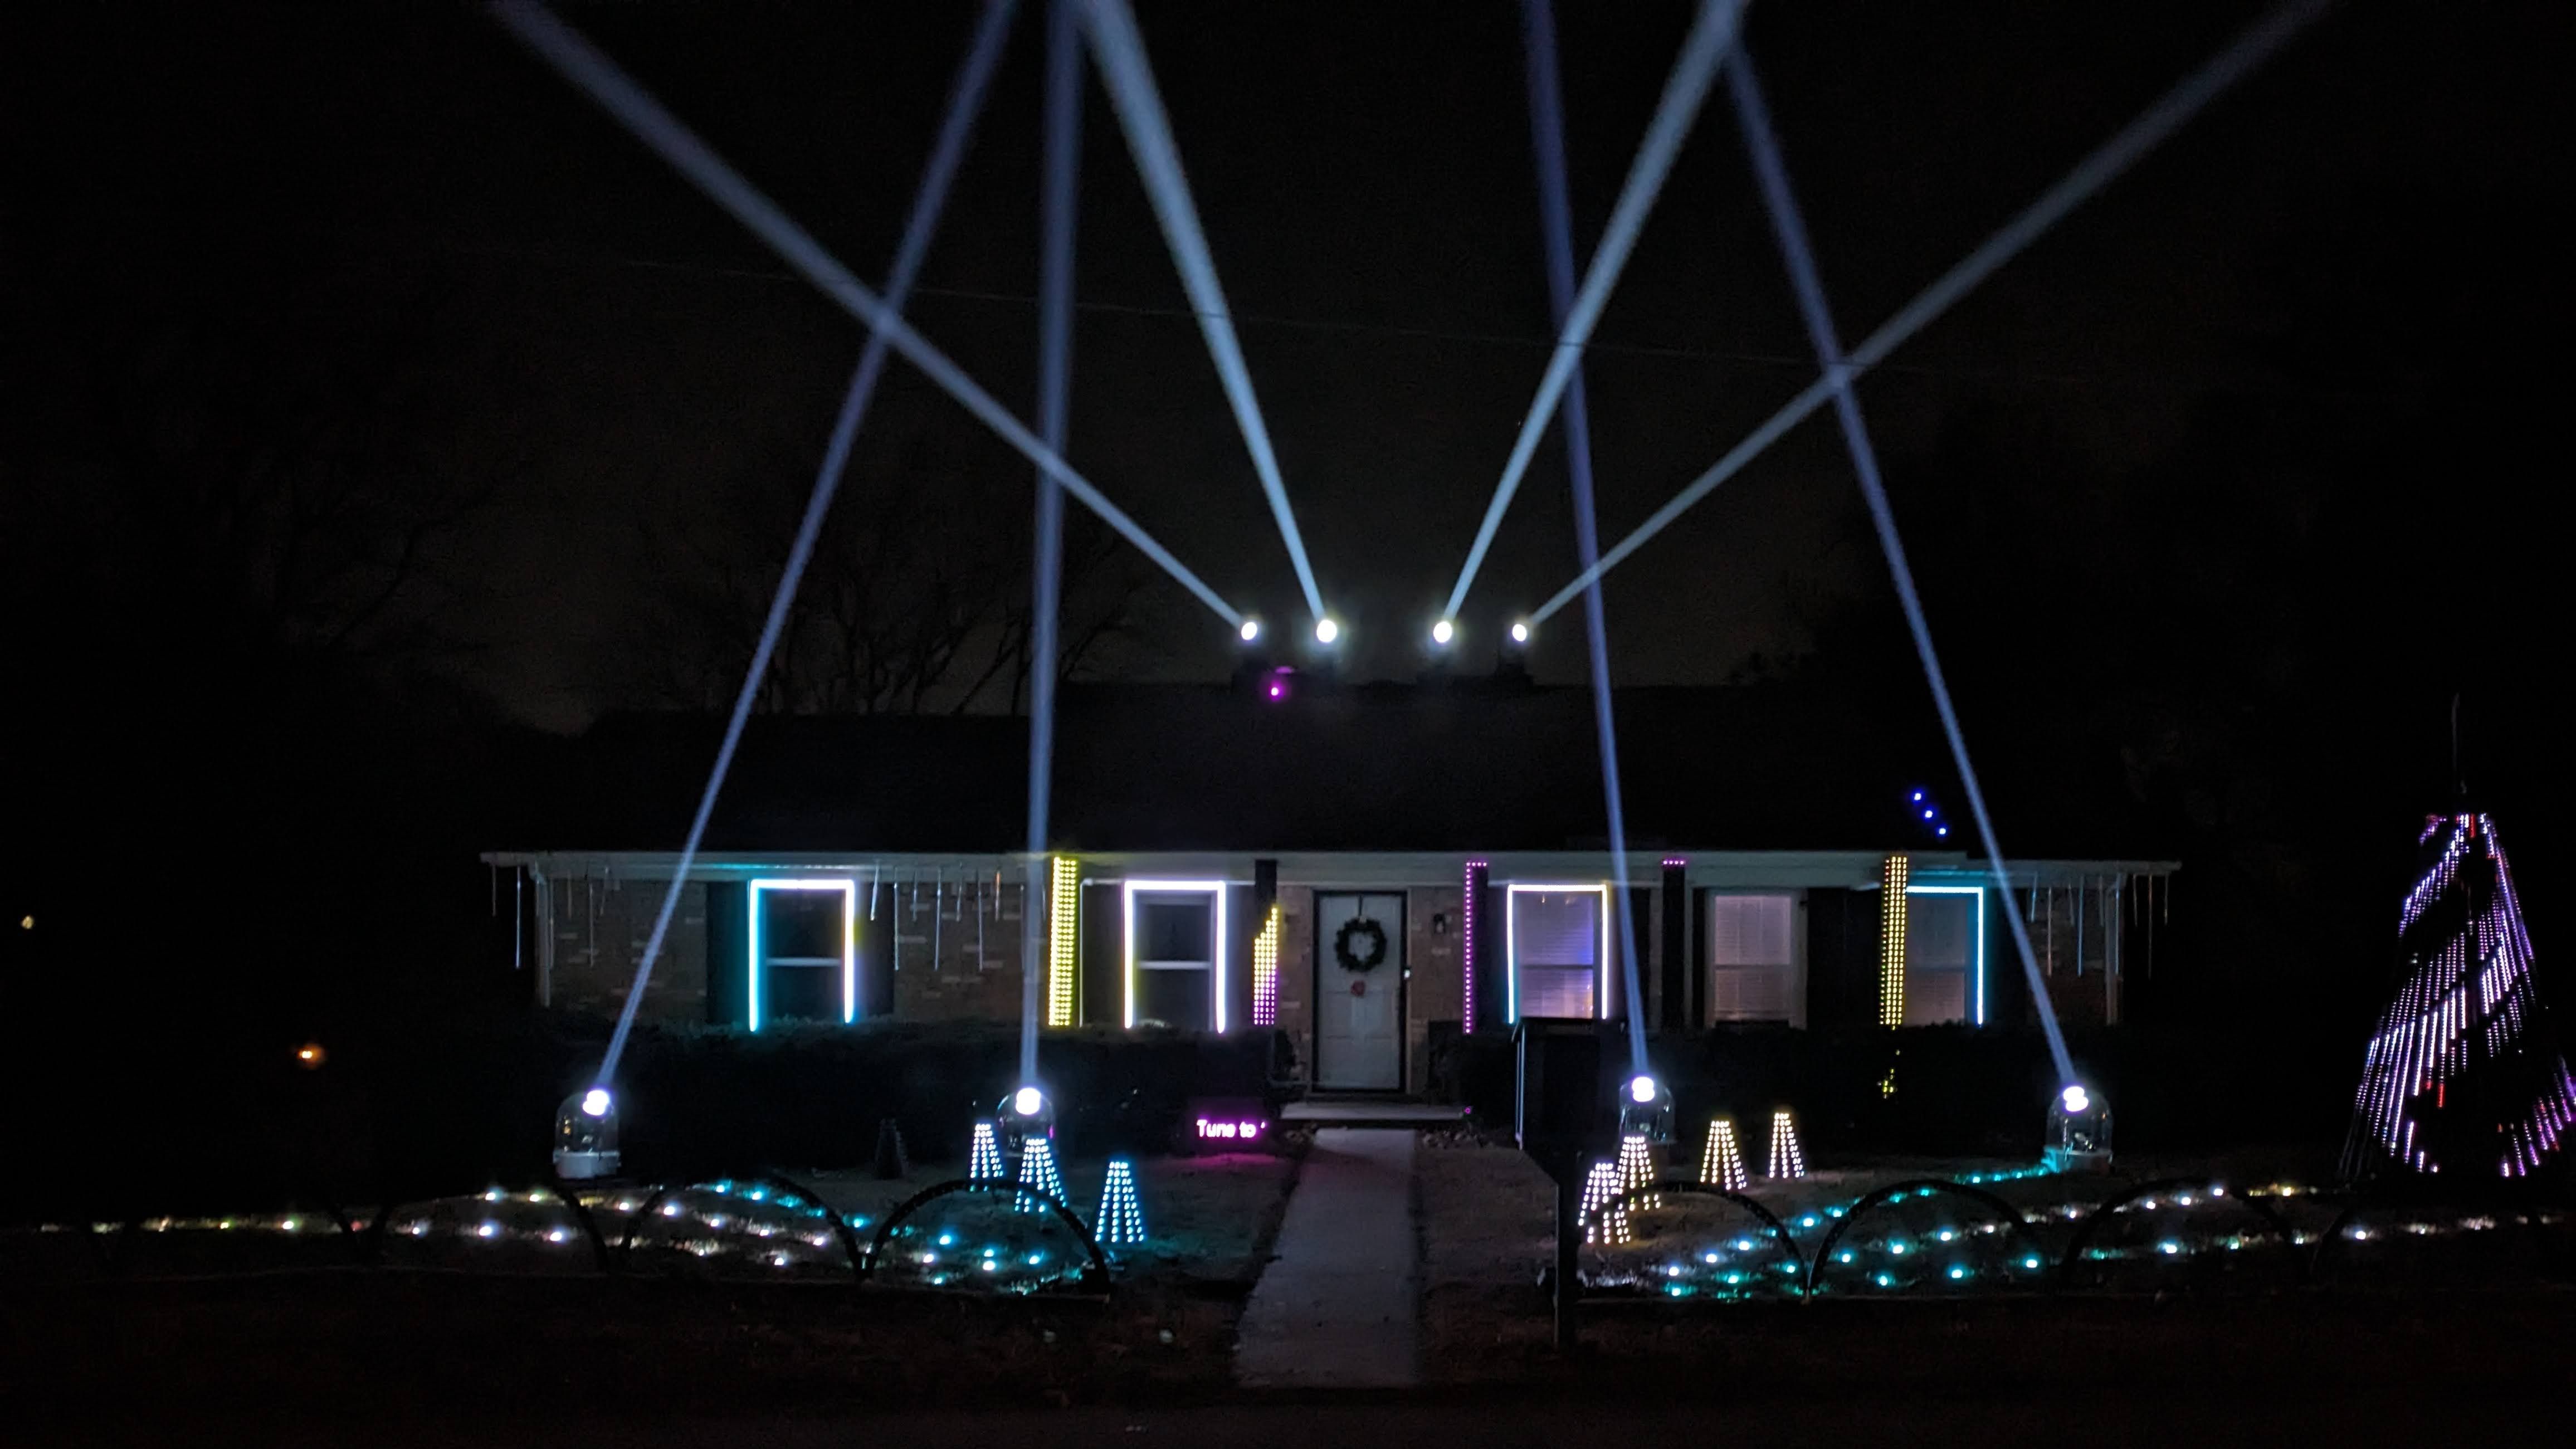
How Do I Set Up My Network to Run Christmas Lights?
One of the biggest things that can trip people up when they’re first working with Christmas lighting is the fact that you often need a network to make all the stuff work together. It sounds complicated!
Whether you’re running your show off of a computer or Raspberry Pi, You’ve got to have at least a simple network to get the data off of the computer into your pixel controllers.
This may seem confusing or complicated, but it really doesn’t have to be.
In fact, when it comes to networks- simpler is better.
In this article, I’m going to teach you how to set up your first show n
Question 1: Should I Put My Display on My Home Network?
If you’re like most people, at your home you have a router that is set up by your internet provider, and you plug in or connect wirelessly with all of your different devices.
When you’re working with Christmas lights, you generally want to keep them separate from this home network. Protocols like Art-Net don’t deal well with networks that have internet.
Other protocols, like sACN or DDP, work fine with the open internet but can have issues as you start to scale-up and get a lot of traffic.
So do what the professionals do: keep your show network separate from your home network if you are not using controllers that each have their own show network.
If you have any devices such as your main computer or Raspberry Pi that need to be on the internet, you can attach them to the internet with a second network adapter.
Let’s start with a simple network setup.
The Basics: A Network Cable
If you’re just starting out and you only have one device or have devices that feature ethernet pass-thru’s then you really don’t need to have a complicated network.
For a simple computer to a controller setup, just use a standard network cable. Pretty much all modern devices now crossover automatically, so you don’t have to worry about a special crossover cable or anything like that.
![]()
A simple network setup
In this situation, like a lot of Christmas light networks, you’ll want to set static IP addresses for each device on your network. This is going to be completely off of your home network that has internet.
When you’re setting IP addresses, here’s what you need to know:
For a simple network, the first three values of the IP address must match.
For
If you just have 2 devices connected with a network cable, it generally doesn’t matter what you use as long as the first three values, or octets, are the same, and then the last one is different.
Your pixel controllers may have a default IP address to default to when there is no router, and that is fine to use and base your addressing scheme by.
Getting More Complex: Using a Switch to Connect Multiple Devices
As you start to get more devices or spread them out around your display, it usually makes sense to get a switch to manager wiring and be able to connect more devices together.
In networking terms, a switch is simply a networking device that has multiple plugs on it. it simply allows traffic to move between all of your different devices.
You may have called this a router in the past, as most consumer routers also include a switch.
The big difference to know here is that a router is a device that connects smaller networks to bigger networks, whereas a switch just connects within a single network.
In fact, many pixel controllers such as the Falcon line actually come with a small, two Port switch built-in to their controllers, so that you can “daisy-chain” multiple devices together.

If you have multiple devices, a simple unmanaged switch is all you need, and all you want. Each device will plug into the switch, and then they’ll all be able to talk.
With an unmanaged switch, you’ll be setting static IP addresses to each of your devices just like we did in the example above. This might seem at first like an extra step, and you might be tempted to take a shortcut and just buy a router to use instead.
However, as your display scales, it’s difficult to configure all of your different devices if they are getting their IP addresses via DHCP from your router.
Do what the professionals do and keep the IP addresses static. 🙂
I was looking at the networking diagram from the Superbowl this past year and the halftime show lighting network
Setting Up Your Display Network…Broadcast, Multicast, or Unicast?
Now that you’ve got your network setup physically, it’s time to jump into our software.
When you get into your sequencing program, you’re going to have the option to set up whether you want to broadcast, multicast, or unicast your show information.
Simply put, these different words mean:
- Broadcast: All devices on the network receive ALL information that is sent, and then decide what they need to listen to.
- Multicast: Devices receive information for the parts of the display that they control. Multiple devices may receive the same information.
- Unicast: Each device receives ONLY the information they need, nothing more.
For smaller displays, you will be able to get away with broadcasting or multicasting all of your show’s information.
However, as your display grows, your controllers will likely have issues parsing through all of the information that
For best results, it’s best to set everything up as unicast. Yes, it takes an extra few minutes on the front end, but once it’s set up, you’re good to go!
In a unicast setup, the controller sends only the information to each pixel controller that is needed.
The pixel controllers don’t have to sort through extra data in order to find what applies to them, so it allows your display to work at top speed and preventing glitching.
Label, Keep it Clean and Document !
My last big tip for you is to be sure that you set up your network neatly. What do I mean by this?
As you build your network, document everything that you do.
Keep a spreadsheet with the IP addresses of all of your devices, so that when you need to talk to one of
On each controller, put a label on it that tells you which controller it is, and what the IP address is.
Last, take pictures and keep a Google Document or something similar that reminds you how to set your set up your display up.
That way, when October or November rolls around next year you’ll be ready to go, and you won’t be scratching your head trying to remember how you set all this stuff up!
Want to Create a Great Christmas Lighting Display This Year?
Grab our free guide and get started today:

